Why Namecheap is the Best Domain and Hosting: A Comprehensive Guide
When it comes to building a website, one of the first and most important decisions you’ll make is selecting a reliable domain and hosting provider. Namecheap has emerged as a leading choice for millions of users worldwide, thanks to its competitive pricing, robust features, and excellent customer service. In this blog post, we’ll explore why Namecheap is the ideal solution for your domain registration and web hosting needs. Whether you’re launching a personal blog, an online store, or a corporate website, Namecheap offers everything you need to get your website up and running smoothly.
What Makes Namecheap Stand Out?
1. Affordable Pricing
One of the most significant advantages of Namecheap is its affordability. Namecheap offers some of the most competitive prices in the industry, making it an excellent choice for individuals and small businesses with tight budgets.
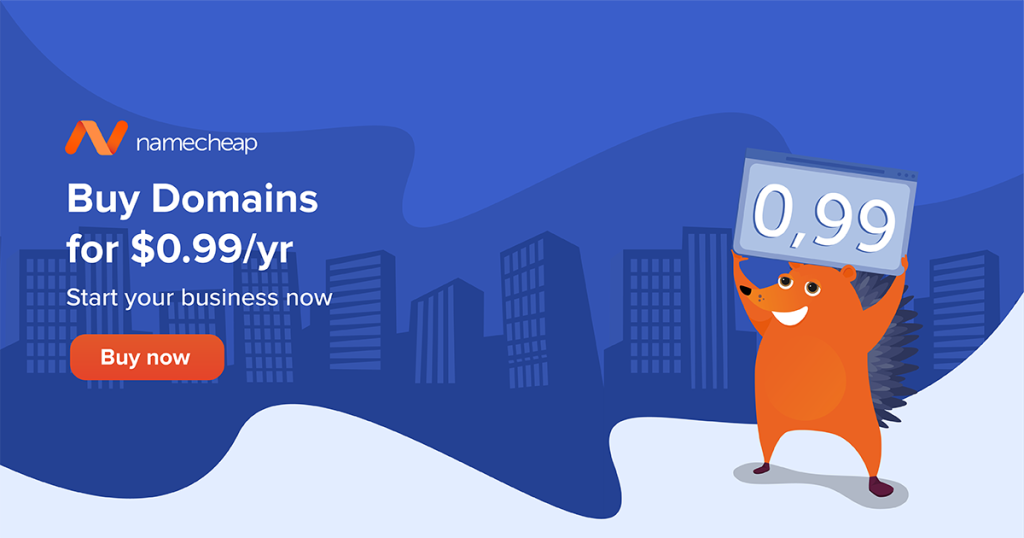
Domain Registration: Namecheap provides domain names at prices starting as low as $0.99 for the first year, depending on the TLD (Top-Level Domain) you choose. This makes it accessible for everyone, from beginners to seasoned webmasters.
Web Hosting: Their hosting plans are equally budget-friendly. Whether you need shared hosting, WordPress hosting, or VPS hosting, Namecheap offers plans that fit various needs without compromising on quality.
2. Free WHOIS Privacy Protection
When you register a domain, your personal information, including your name, address, and phone number, is listed in the WHOIS database. This information is publicly accessible, which can lead to spam, identity theft, and other privacy concerns.
Namecheap stands out by offering free WHOIS privacy protection for life. This service masks your personal information, ensuring that your data remains private, which is a huge plus for anyone concerned about online privacy.
3. Reliable Hosting Performance
When it comes to hosting, reliability is key. Namecheap delivers on this front with a 99.9% uptime guarantee. Their servers are robust and optimized to handle traffic spikes, ensuring that your website remains accessible and performs well at all times.
- Speed and Performance: Namecheap uses the latest technology, including SSD storage, to ensure fast load times. Speed is crucial not only for user experience but also for SEO, as search engines favor faster websites in their rankings.
4. Easy-to-Use Control Panel
Namecheap offers an intuitive and easy-to-use control panel, making it simple for users to manage their domains, hosting, and other services. The cPanel is particularly user-friendly, even for those who are not tech-savvy. It includes tools for managing your files, emails, databases, and more, all from one centralized location.
5. Excellent Customer Support
Namecheap has built a reputation for its exceptional customer support. Their support team is available 24/7 via live chat and email to assist you with any issues you might encounter. Whether you’re facing technical difficulties, need help with domain transfers, or have questions about billing, Namecheap’s support team is prompt, knowledgeable, and friendly.
6. Free Website Migration
If you’re already hosting your website with another provider but are considering switching to Namecheap, the process is straightforward. Namecheap offers free website migration services, ensuring that your site is transferred smoothly without any downtime or data loss.
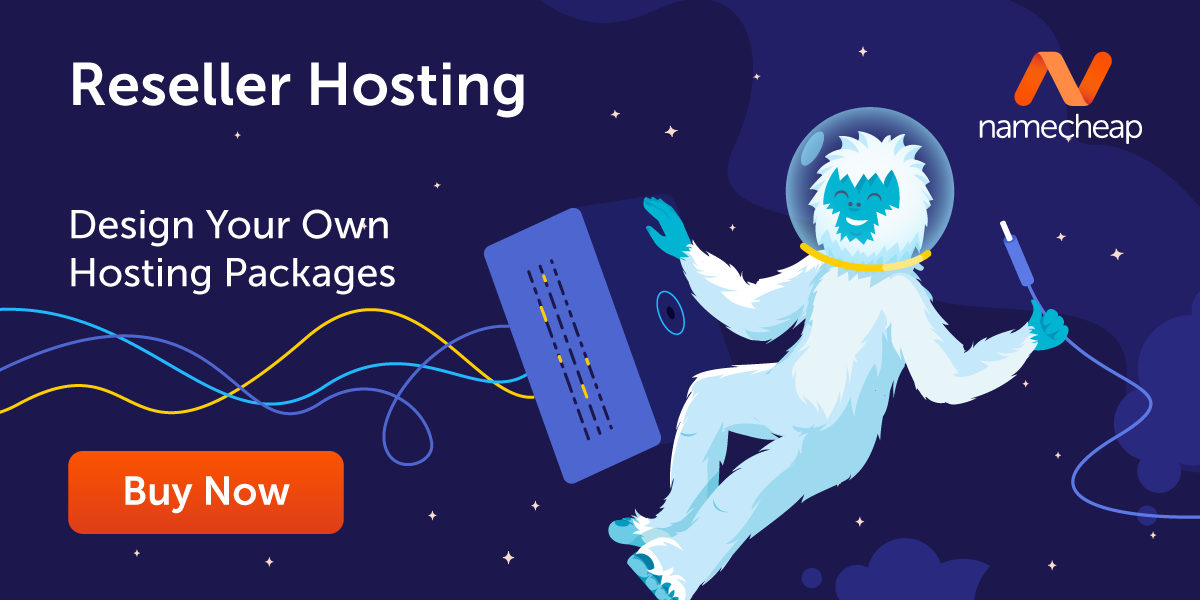
7. Flexible Hosting Plans
Namecheap offers a variety of hosting plans tailored to different needs:
Shared Hosting: Ideal for small websites, blogs, or personal projects. Shared hosting is the most affordable option, with prices starting as low as $1.58 per month.
WordPress Hosting: Specifically optimized for WordPress sites, this hosting type ensures faster load times and better security. It also comes with easy WordPress installation and management tools.
VPS Hosting: For those who need more power and control, VPS hosting offers dedicated resources, root access, and scalability, making it perfect for growing websites or applications.
Dedicated Servers: If you need maximum performance, Namecheap’s dedicated servers provide unparalleled power, control, and security. This is an excellent option for large websites, e-commerce stores, or apps with high traffic.
8. Security Features
Namecheap takes security seriously. They offer a range of security features, including SSL certificates, two-factor authentication (2FA), and DDoS protection, ensuring that your website and data are always secure.
- SSL Certificates: Namecheap provides a variety of SSL certificates to suit different needs, from basic single-domain certificates to advanced multi-domain options. An SSL certificate is essential for protecting your users’ data and improving your website’s SEO.
9. Additional Services
Beyond domains and hosting, Namecheap offers a wide range of additional services that can enhance your website:
- Email Hosting: Professional email hosting services that allow you to create custom email addresses using your domain name.
- Site Builder: Namecheap’s easy-to-use website builder allows you to create a professional-looking website without any coding knowledge.
- Apps Marketplace: Access to a marketplace with a variety of apps and tools that can be integrated into your website, from SEO tools to e-commerce solutions.
10. Sustainability and Ethical Practices
Namecheap is also committed to sustainability and ethical business practices. They are a strong advocate for internet freedom and privacy, and they actively support various causes related to these issues. Their commitment to doing business the right way makes them a preferred choice for many users who care about more than just price and performance.
How to Get Started with Namecheap
1. Register Your Domain
Starting with Namecheap is easy. Simply visit their website, enter your desired domain name in the search bar, and see if it’s available. If your first choice isn’t available, Namecheap will suggest alternative domain names or extensions. Once you find a domain you like, add it to your cart, and proceed to checkout.
2. Choose a Hosting Plan
After securing your domain, it’s time to choose a hosting plan that suits your needs. Whether you’re building a small blog or a large online store, Namecheap has a hosting plan that will work for you. If you’re unsure which plan to choose, Namecheap’s customer support team can guide you through the decision-making process.
3. Set Up Your Website
Once your domain and hosting are set up, you can start building your website. With Namecheap’s easy-to-use control panel, you can install WordPress or another content management system (CMS) in just a few clicks. If you prefer a drag-and-drop interface, you can use Namecheap’s site builder to create your website without any coding.
4. Secure Your Website
Don’t forget to add an SSL certificate to your website to protect your users’ data and improve your SEO. Namecheap makes it easy to purchase and install SSL certificates directly through their platform.
5. Launch and Grow
With everything set up, you’re ready to launch your website. Namecheap’s reliable hosting and excellent support ensure that your site remains up and running, allowing you to focus on growing your business.
Conclusion: Why Namecheap is the Smart Choice
Choosing Namecheap for your domain and hosting needs is a smart decision that offers a blend of affordability, reliability, and ease of use. Whether you’re a beginner or an experienced webmaster, Namecheap provides all the tools and support you need to succeed online. From domain registration to hosting and beyond, Namecheap delivers excellent value, making it the preferred choice for millions of users worldwide.
If you’re ready to get started, visit Namecheap today and take the first step toward building your online presence. With their user-friendly platform, robust features, and outstanding customer support, you’ll have everything you need to launch a successful website.
How Cheap Is Namecheap? Understanding Pricing and Discounts
Namecheap is renowned for its affordability, making it one of the most cost-effective options for both domain registration and web hosting. Whether you’re launching a new website or looking to switch from another provider, Namecheap’s pricing structure is designed to offer maximum value without compromising on quality.
Domain Pricing
Namecheap offers some of the lowest prices in the industry for domain registration. Here’s a breakdown of the typical costs:
- .com Domains: Prices for .com domains often start as low as $8.98 for the first year. This is significantly cheaper compared to many competitors, who might charge $10 to $15 for the same TLD.
- .net and .org Domains: These typically start around $10.98 to $12.98 for the first year, which is again very competitive.
- Specialty TLDs: Namecheap frequently offers discounts on newer or less common TLDs (like .tech, .online, .store), with some priced as low as $0.99 for the first year.
Web Hosting Pricing
Namecheap’s hosting plans are equally budget-friendly, designed to cater to various needs and budgets:
Shared Hosting: Prices start as low as $1.58 per month for the basic plan when you opt for an annual subscription. This plan is ideal for small websites or blogs and includes features like free SSL installation, 20 GB SSD storage, and a free domain name for the first year.
WordPress Hosting: Managed WordPress hosting starts at $3.88 per month, offering optimized performance for WordPress sites with features like automatic updates and backups.
VPS Hosting: If you need more power, VPS hosting starts at $6.88 per month, providing dedicated resources and greater control over your hosting environment.
Dedicated Servers: For those who need top-tier performance, dedicated server plans start at $48.88 per month, offering robust server options with full root access and customizable configurations.
Discounts and Promotions
Namecheap regularly runs promotions and discounts, making their services even more affordable. Here are some ways you can save:
First-Year Discounts: Namecheap often offers significant discounts for the first year of domain registration, especially on popular TLDs like .com, .net, and .org. For example, you might find a .com domain discounted from $8.98 to $5.98 or even lower during a special promotion.
Bundle Deals: When you purchase both a domain and hosting together, Namecheap often offers bundle deals that further reduce the overall cost. For instance, you might get a free domain with the purchase of an annual hosting plan.
Coupon Codes: Namecheap frequently releases coupon codes that provide additional discounts on domain renewals, transfers, and hosting services. These can be found on their website, via their newsletter, or on coupon websites.
Seasonal Sales: Namecheap participates in major sales events like Black Friday, Cyber Monday, and New Year’s sales, where they offer deep discounts across all their services. During these events, you can often save up to 50% or more on domains, hosting, and other services.
Student Discounts: Namecheap offers special discounts for students, providing a more affordable way to build and host websites for educational or personal projects.
Do you want to buy Domain and Hosting??
How can i setup my Website?
Setting up your website with Namecheap is a straightforward process. Here’s a step-by-step guide to help you get started:
Step 1: Register a Domain Name
- Visit Namecheap’s Website: Go to Namecheap.com.
- Search for a Domain: Use the search bar on the homepage to find an available domain name. Enter the name you want and check if it’s available.
- Choose Your Domain: Once you find an available domain, add it to your cart.
- Proceed to Checkout: Review your cart and proceed to checkout. Namecheap often offers WHOIS privacy protection for free, which is added automatically.
- Create an Account: If you don’t already have a Namecheap account, you’ll need to create one. Enter your details and complete the registration.
- Purchase the Domain: Complete the payment process. Once done, you will receive confirmation of your domain registration.
Step 2: Choose a Hosting Plan
- Go to the Hosting Section: On the Namecheap website, navigate to the “Hosting” section.
- Select a Hosting Plan: Choose a hosting plan that suits your needs. If you’re just starting out, the Stellar Shared Hosting plan is a good choice. Add the plan to your cart.
- Complete the Purchase: Follow the checkout process to purchase your hosting plan.
Step 3: Connect Your Domain to Hosting
- Log in to Your Namecheap Account: After purchasing the domain and hosting, log in to your Namecheap account.
- Navigate to Domain List: Go to the “Domain List” section in your Namecheap dashboard.
- Manage Domain: Find your domain in the list and click “Manage.”
- Update Nameservers: In the “Nameservers” section, choose “Namecheap Web Hosting DNS” from the dropdown menu if you are using Namecheap’s hosting. This will automatically connect your domain to your hosting account.
- Save Changes: Click “Save” to apply the changes. It may take a few minutes to propagate.
Step 4: Install a Website Builder or CMS
- Access Your cPanel: Go to your Namecheap dashboard, click on “Hosting List,” find your hosting plan, and click “Go to cPanel.”
- Install WordPress (or another CMS): In cPanel, scroll down to the “Softaculous Apps Installer” section and click on “WordPress” (or another CMS like Joomla, Magento, etc.).
- Install WordPress: Click the “Install Now” button. Fill in the details like your site name, admin username, and password. Choose your domain from the dropdown menu.
- Complete Installation: Click “Install,” and Softaculous will set up WordPress on your domain. Once complete, you’ll get a link to your WordPress admin dashboard.
Step 5: Customize Your Website
- Access WordPress Dashboard: Go to
yourdomain.com/wp-adminand log in using the credentials you set during installation. - Choose a Theme: In your WordPress dashboard, go to “Appearance” > “Themes” to choose and activate a theme.
- Install Plugins: Go to “Plugins” > “Add New” to install essential plugins like Yoast SEO, Contact Form 7, and more.
- Add Content: Start adding pages, blog posts, and media to your site. Customize your menu, widgets, and other settings to your liking.
Step 6: Launch Your Website
- Set Up SSL: Namecheap often includes a free SSL certificate with your hosting plan. In cPanel, go to “SSL/TLS” and follow the instructions to enable SSL on your site, making it secure (
https://). - Test Your Site: Make sure all links, forms, and features are.